How to Take Better Photos with Just Your Phone
D
Dylan Rollins
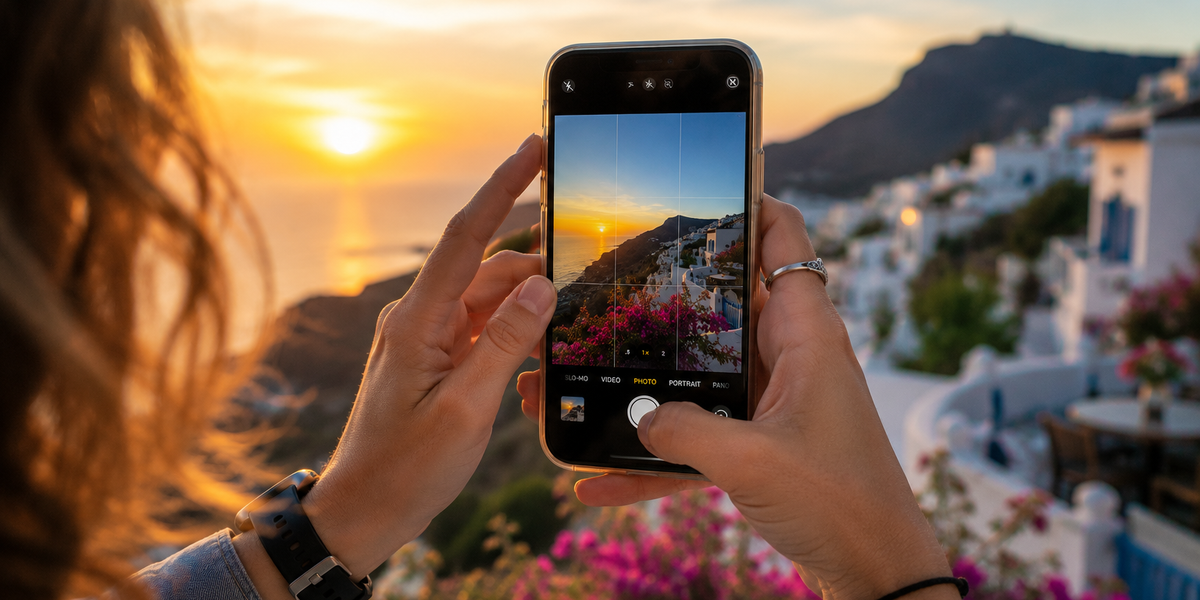

You do not need an expensive camera to take photographs worth keeping. The phone already in your pocket is capable of producing remarkably good images—and, more importantly, it is probably the camera you actually have with you when something worth photographing happens.
The difference between an average phone photo and a great one usually has less to do with equipment than with light, composition, timing, and knowing a few basic tricks.
You do not need to understand complicated photography terminology either. A handful of simple habits can dramatically improve your photos without turning every moment into a professional shoot.
It sounds almost too obvious, but this might be the easiest photography upgrade available.
Your phone spends its day in your hand, pocket, bag, or on various surfaces. The camera lenses inevitably collect fingerprints, dust, and oils.
That creates hazy photographs, blurry lights, and the slightly foggy look people sometimes blame on their phone’s camera.
Before taking an important photo, quickly wipe the lens with a clean, soft cloth.
It takes two seconds.
If your photos suddenly look sharper and clearer, congratulations: you just discovered the cheapest camera upgrade imaginable.
Good light can make an ordinary phone photo look beautiful. Bad light can make an expensive camera struggle.
Whenever possible, use natural light.
If you are photographing someone indoors, position them near a window rather than directly underneath harsh ceiling lights. Outdoors, early morning and late afternoon often provide softer, warmer light than the middle of the day.
Also pay attention to where the light is coming from.
Light falling onto your subject generally produces a clearer image than strong light directly behind them, although backlighting can create beautiful results when used intentionally.
Before taking the picture, move around slightly.
Sometimes two steps to the side completely change the photograph.
Centering your subject is not wrong. Symmetrical photographs can look fantastic.
But automatically placing everything directly in the middle can make your photos feel repetitive.
Turn on the grid in your phone’s camera settings. The lines divide your screen into sections and make it easier to experiment with composition.
Try placing a person slightly to one side. Position the horizon along the upper or lower horizontal grid line rather than cutting the photograph exactly in half.
Also look for natural frames.
Doorways, windows, arches, trees, and buildings can surround your subject and draw attention toward it.
The goal is not to obey strict composition rules. It is to start noticing where things sit inside the frame.
Digital zoom is convenient, but it can quickly reduce image quality.
When possible, physically move closer.
This also forces you to think more deliberately about what you are photographing. Instead of capturing an entire busy scene, you may discover that one detail tells the story better.
Of course, moving closer is not always possible. You probably should not walk toward a wild animal or step into traffic because someone told you not to zoom.
But for everyday subjects—food, people, architecture, objects—your feet are often the better zoom.
The standard travel photograph has a familiar sequence.
Stand there. Look here. Smile.
There is nothing wrong with it. You will probably be glad you have those photos later.
But some of the most memorable pictures happen immediately before or after the pose.
Photograph someone laughing, walking, talking, looking at the view, or interacting with the environment.
If you are photographing children, this becomes even more useful. Asking a child to repeatedly smile at the camera rarely produces the expressions you actually want to remember.
Let them do something.
Take several photographs while the moment unfolds and choose the best one afterward.
Portrait mode can create beautiful photographs by separating a person from the background.
But it does not need to be your default.
Sometimes the background is part of the story.
If you are photographing someone in front of a mountain, beautiful street, historic building, or dramatic coastline, aggressively blurring everything behind them defeats the purpose.
Use portrait mode when the person or object is clearly the focus and the background is distracting.
Use the regular camera when you want the environment to matter too.
And always check the edges around hair, glasses, hands, and clothing. Artificial background blur can occasionally produce strange results.
Your phone makes many decisions automatically, but you can still give it some direction.
Tap the part of the screen you want in focus.
On many phones, you can then adjust the brightness by moving the exposure control that appears beside the focus point.
This is particularly useful when photographing bright skies, sunsets, windows, or scenes with strong contrasts between light and shadow.
Phone cameras sometimes make images brighter than they need to be.
Slightly reducing the exposure can preserve details in bright areas and create a richer-looking photograph.
Before taking a picture of someone, look behind them.
Is a street sign appearing to grow out of their head? Is there a rubbish bin beside them? Are strangers walking directly behind their shoulders?
A tiny change in position can clean up the entire image.
Move yourself, move your subject, or wait a few seconds.
Simple backgrounds often make subjects stand out more clearly, while busy backgrounds can work when they contribute to the atmosphere of the photograph.
The important thing is noticing the background before you press the button rather than afterward.
Editing can improve a good photograph. It cannot rescue every bad one.
Start with simple adjustments: straighten the horizon, crop unnecessary space, correct brightness, and make small changes to contrast or shadows if needed.
Be careful with filters and extreme adjustments.
When skies become unnaturally blue and skin starts looking orange, the editing has probably become more noticeable than the photograph.
A useful rule is to make the changes you like and then reduce them slightly.
The best edit often looks as though very little editing happened at all.
Perhaps the most important photography habit has nothing to do with photography.
Do not spend the entire experience trying to capture it.
Take a few photographs. Check quickly that you got one you like. Then put your phone away.
You do not need 70 versions of the same sunset.
The purpose of taking better photos is not to experience your life through a screen. It is to preserve a few pieces of it well.
The best camera may be the one you always have with you.
But sometimes the best thing you can do with it is take the picture—and then return to the moment happening outside the frame.

Attention rarely feels important while we are giving it away. We glance at a notification during dinner. We half-listen to someone while thinking about what we need to do next. We watch a film while checking our phones, walk through familiar streets without noticing them, and finish entire days unable to remember much of what actually happened.

We have become very good at recognizing lives that look interesting. They involve constant travel, impressive jobs, beautiful homes, busy social calendars, ambitious projects, expensive restaurants, dramatic announcements, and enough photographs to prove all of it happened. Online, an interesting life can start to resemble a continuous highlight reel.
Some people seem to move through the world with a different level of resolution. They notice when someone has changed their hair slightly. They remember the name of the waiter from a restaurant they visited months ago. They spot an unusual building on a street everyone else has walked down a hundred times. They can tell when a friend’s mood has shifted before the friend says anything.

Sometimes you arrive somewhere completely unfamiliar and feel strangely at ease. You do not know the streets. You have no memories attached to the buildings. You may not even speak the language. Yet within a few hours, something about the place feels comfortable. You can imagine having a favorite café there, knowing which market to visit on Saturday, or walking the same route home every evening.
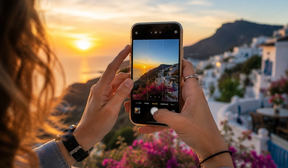
You do not need an expensive camera to take photographs worth keeping. The phone already in your pocket is capable of producing remarkably good images—and, more importantly, it is probably the camera you actually have with you when something worth photographing happens.

The internet is not something most of us can—or particularly want to—quit. We work online. We make plans through messages. We use maps, banking apps, calendars, news sites, music, podcasts, and group chats. Our phones contain genuinely useful tools alongside the apps that somehow turn five spare minutes into 45.